After your surgery · Nicholas Genovese, M.D.
Ulnar stump stabilization
Surgery to stabilize the end of the ulna at the wrist
Motion and exercise guide beginning around 6 weeks
This is a later-phase guide, not a day-of-surgery handout
This page contains the phase-specific material currently available for this procedure. Use the printed instructions from your surgery for wound care, splinting, medicines and the first weeks of recovery. Begin this guide only after your surgeon or therapist clears you.
If you need the current day-of-surgery handout, call (858) 560-0242.
About this phase of recovery
- This six-week home program is for the motion phase after surgery to stabilize the end of the ulna and place a soft-tissue cushion between the forearm bones. Use it only if your surgeon or therapist confirms that this is your procedure and clears you to begin.
Exercises by phase
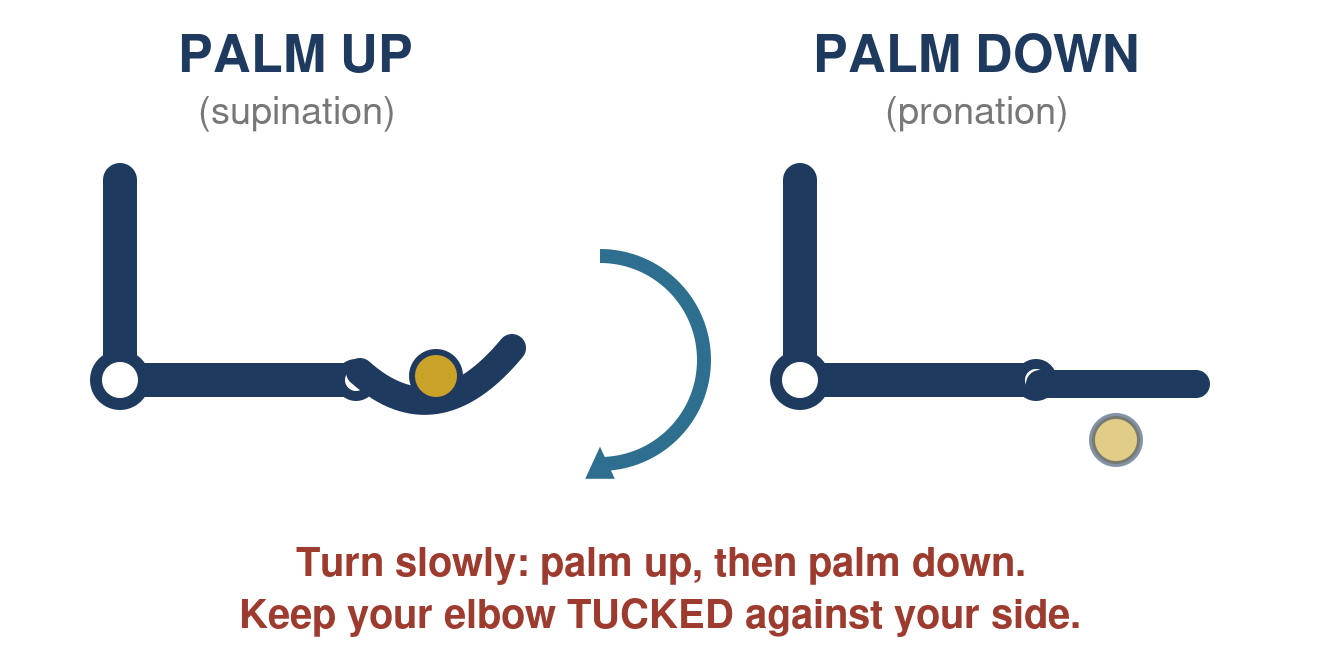
Turn the palm up and down
Start: about 6 weeks, after surgeon or therapist clearance
Sit with the elbow bent to 90 degrees and tucked against your side. Slowly turn the palm up, hold 5 seconds, then turn the palm down and hold 5 seconds. Repeat 10 times in each direction. Perform 4–5 short sessions a day after you are cleared.
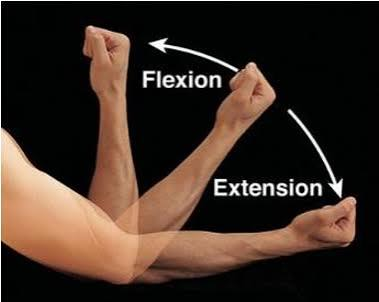
Bend and straighten the elbow
Start: about 6 weeks, after surgeon or therapist clearance
With the hand relaxed, straighten the elbow as far as is comfortable and hold 5 seconds. Then bend the elbow toward the shoulder and hold 5 seconds. Repeat 10 times, 4–5 times a day.
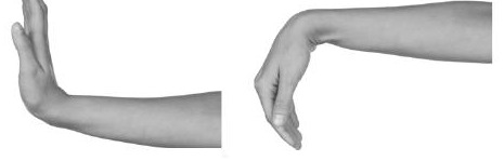
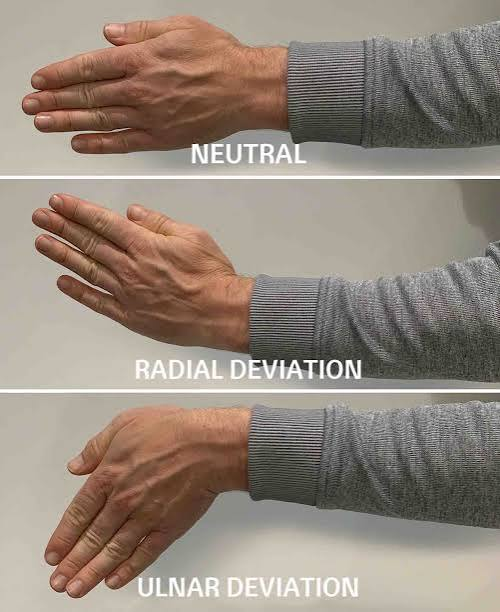
Wrist motion in four directions
Start: about 6 weeks, after surgeon or therapist clearance
Support the forearm on a table with the fingers relaxed and open. Bend the wrist up and down, then move it toward the thumb side and little-finger side without moving the forearm. Hold each position 5 seconds. Repeat 10 times, 4–5 times a day.
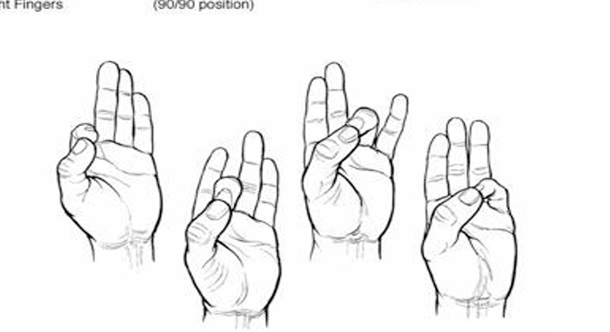
Loose finger and thumb motion
Start: about 6 weeks — keep the fist loose and do not squeeze
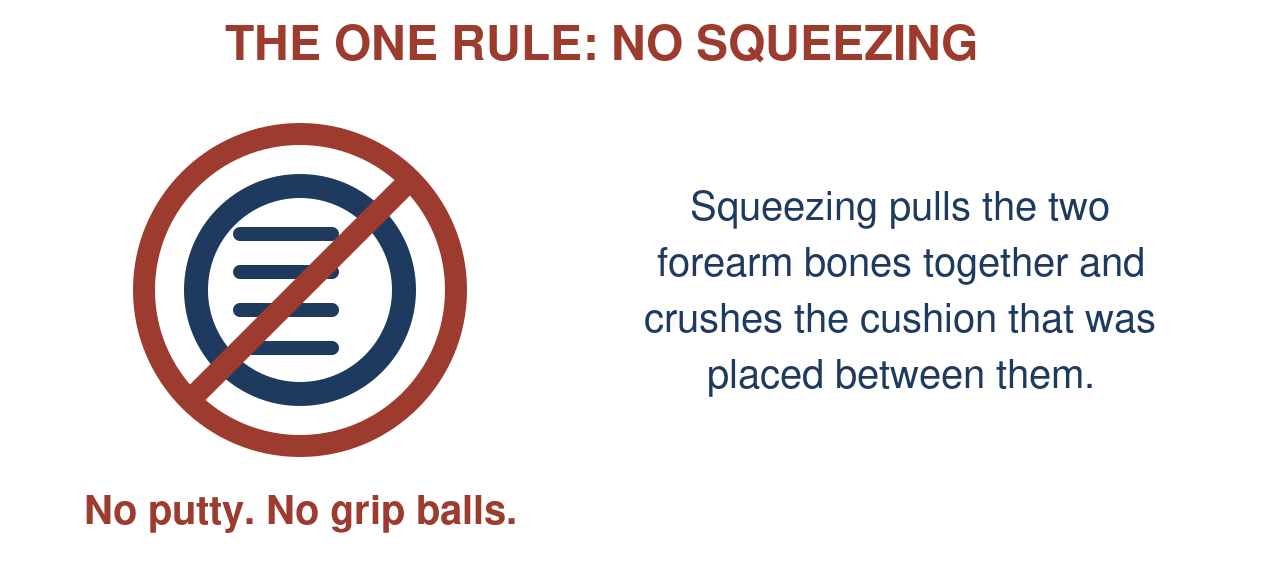
Open the hand fully, then curl the fingers into a loose fist without squeezing. Touch the thumb to each fingertip one at a time. Repeat 10 times, 4–5 times a day. Do not use putty, a grip ball or a hand gripper until strengthening is cleared.
Shoulder circles and gentle reaching
Start: about 6 weeks
Make 10 slow shoulder circles forward and 10 backward. Raise the arm out to the side and overhead only as far as is comfortable, 10 times. Perform 4–5 short sessions a day.
Scar massage
Start: only after the incision is fully closed with no scabs
Start only after the stitches are out and the incision is fully closed, with no scabs or drainage (usually about 2–3 weeks). Use a fragrance-free moisturizer such as Aquaphor. Press firmly enough to move the skin and massage in small circles, then side to side and up and down. 2–3 minutes, 2–4 times a day for 6–8 weeks. Protect the scar from the sun for several months.
Desensitization
Start: after the incision is healed, if the back of the hand is sensitive
If the skin around the scar is very sensitive, rub it with a soft material (cotton ball, soft cloth) for 1–2 minutes, then slowly progress to rougher textures such as a towel or denim. Light tapping around the tender spot and moving the hand through a bowl of dry rice or beans also help. 3–6 short sessions a day. Mild discomfort is fine; stop if it causes sharp pain or a flare that lasts hours.
Swelling, scar and sensitivity
Keep the hand above heart level when resting.
When the incision is fully closed and has no scabs, massage the scar firmly with lotion for 5 minutes twice a day.
For a sensitive patch on the back of the hand, begin with a soft texture such as a cotton ball and gradually progress to a washcloth and towel as tolerated.
Therapy guidance
- Perform the cleared motion exercises 4–5 times a day. A gentle stretch or pulling feeling can be expected; stop for sharp pain.
- Motion should improve steadily during weeks 6–12. Strengthening generally begins around 12 weeks only after your surgeon or therapist approves it.
- Keep the hand above heart level when resting. If approved, use gentle strokes from the hand toward the elbow and shoulder to help swelling move out.
Activity and lifting limits
- Do not use putty, grip balls, hand grippers or other squeezing exercises until your surgeon clears strengthening, usually around 12 weeks.
- Do not lift more than a coffee cup with the operated hand until cleared.
- Do not open tight jars, wring towels, use a screwdriver or wrench, push up from a chair or bed, carry grocery bags, or pull heavy doors with the operated arm until cleared.
- Use the operated hand only for light tasks such as eating, dressing, holding a phone and using a keyboard.
Exercises beginning around 6 weeks, after clearance
When to call the office
Call the office at (858) 560-0242 immediately if you have any of the following:
- Fever above 101.0 °F or chills
- Redness, warmth or red streaks spreading from the incision
- Drainage from the incision, especially cloudy or bad-smelling drainage
- Pain that is getting worse or is not controlled by your medicines
- New or worsening numbness, tingling or weakness
- Fingers that turn blue, white or cold, or stay very swollen after elevating your hand for an hour
- A splint or wrap that still feels too tight after you loosen the outer elastic wrap and elevate your hand
- Bleeding that soaks through the dressing
- Sharp pain on the little-finger side of the wrist when gripping or pushing
- Painful clicking, popping or a shifting sensation when turning the forearm
- Motion that had been improving and is now getting worse
- Swelling, redness or warmth that is increasing
If you cannot reach us and the problem is urgent, go to the nearest emergency room or call 911.
Call 911 or go to the nearest emergency room for chest pain, trouble breathing, or new calf pain or swelling.
About these instructions
These instructions are general guidelines for patients of Nicholas Genovese, M.D. Your surgeon may change your plan based on your surgery and how you are healing. If anything here differs from what your surgeon or therapist told you, follow their instructions, and call the office before changing any activity, splint use or therapy.